WHY I CHOSE TESTCAFE
When I started at Wyzetalk, it was no different. I had to go through the same as a lot of automation testers, R&D, the right approach for automation testing and which tool will bring the most value.
One of our main goals for choosing a tool was for everybody in QA and in the Dev team to pick and run tests in multiple browsers and had to be open source.
One of the challenges we faced was, Wyzetalk offers a white label product, meaning the same set automation tests need to run for all versions of our products.
The tool I found that checked all the boxes was TestCafe.
During the time using TestCafe, it has proven to be a great addition to our testing. Below are a few reasons why I chose TestCafe as our end-to-end testing framework.
FREE AND OPEN-SOURCE
Testcafe is an open-sources project that is owned by DevExpress and its free (Let's be honest, business would like that)
NO SELENIUM WEBDRIVER NEEDED
Selenium is the standard when it comes to testing automation for web apps. However , it does come with issues. It lacks necessary features like automatic waits for dynamic content or needs extra set up for mobile browser testing. TestCafe runs its tests via a web proxy, and the tool contains tons of features out of the box.
TESTS ARE WRITTEN IN JAVASCRIPT
If you're building a modern web application, your team is most probably familiar with JavaScript. With TestCafe, your entire team can write and maintain the end-to-end test suite without having to learn a new programming language.
LOTS OF BUILT-IN FUNCTIONALITY
As mentioned, TestCafe has a ton of features ready to use without additional setup. Among the main features it includes are the ability to test with different browsers and configurations, run tests concurrently, and independently manage user roles.
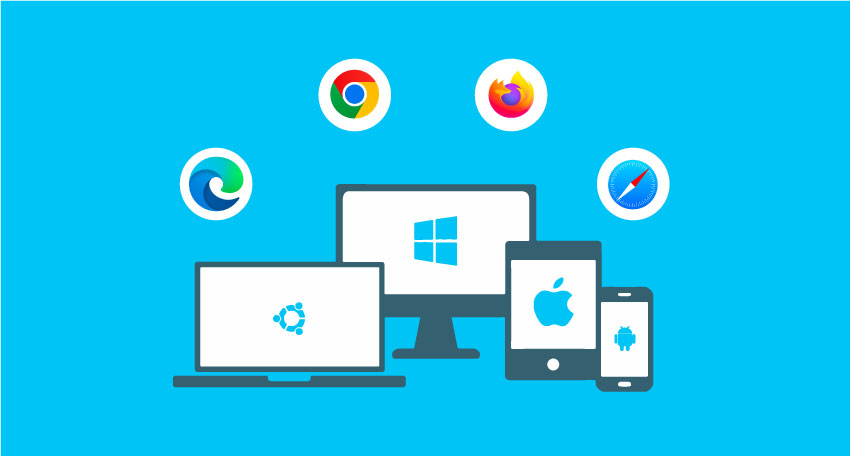
BROWSER SUPPORT
TestCafe detects all browsers running on your machine and provides the option for to use all browsers to run your tests on, because of this, no needs to install and manage web drivers.
DEBUGGING
UI tests are not easy to create. You have to pick the exact elements to interact with, run the test multiple times, and make changes until you have a reliable test. This means that whatever tool you use should support good debugging methods. TestCafe has you covered in this department. It has a debug mode where you can continue execution step-by-step to see what happens at each point of the test. You can also open the developer tools to investigate during the test run. There’s also a live mode where browsers remain active while you work on tests. They’ll automatically rerun once you make code changes
RELIABILITY
If you ask any automation tester who has had experience using Selenium, they will tell you how much time they spent carefully placing the right waiting mechanism in place to ensure tests don’t break. TestCafe has mechanisms for automatic waits for actions, selectors, assertions, page loads and redirects. This leads to more reliable tests.
RUNNING TEST CONCURRENTLY
Running your test suite concurrently using different browsers. For instance, you can tell TestCafe to run the tests in Chrome and MS Edge at the same time.
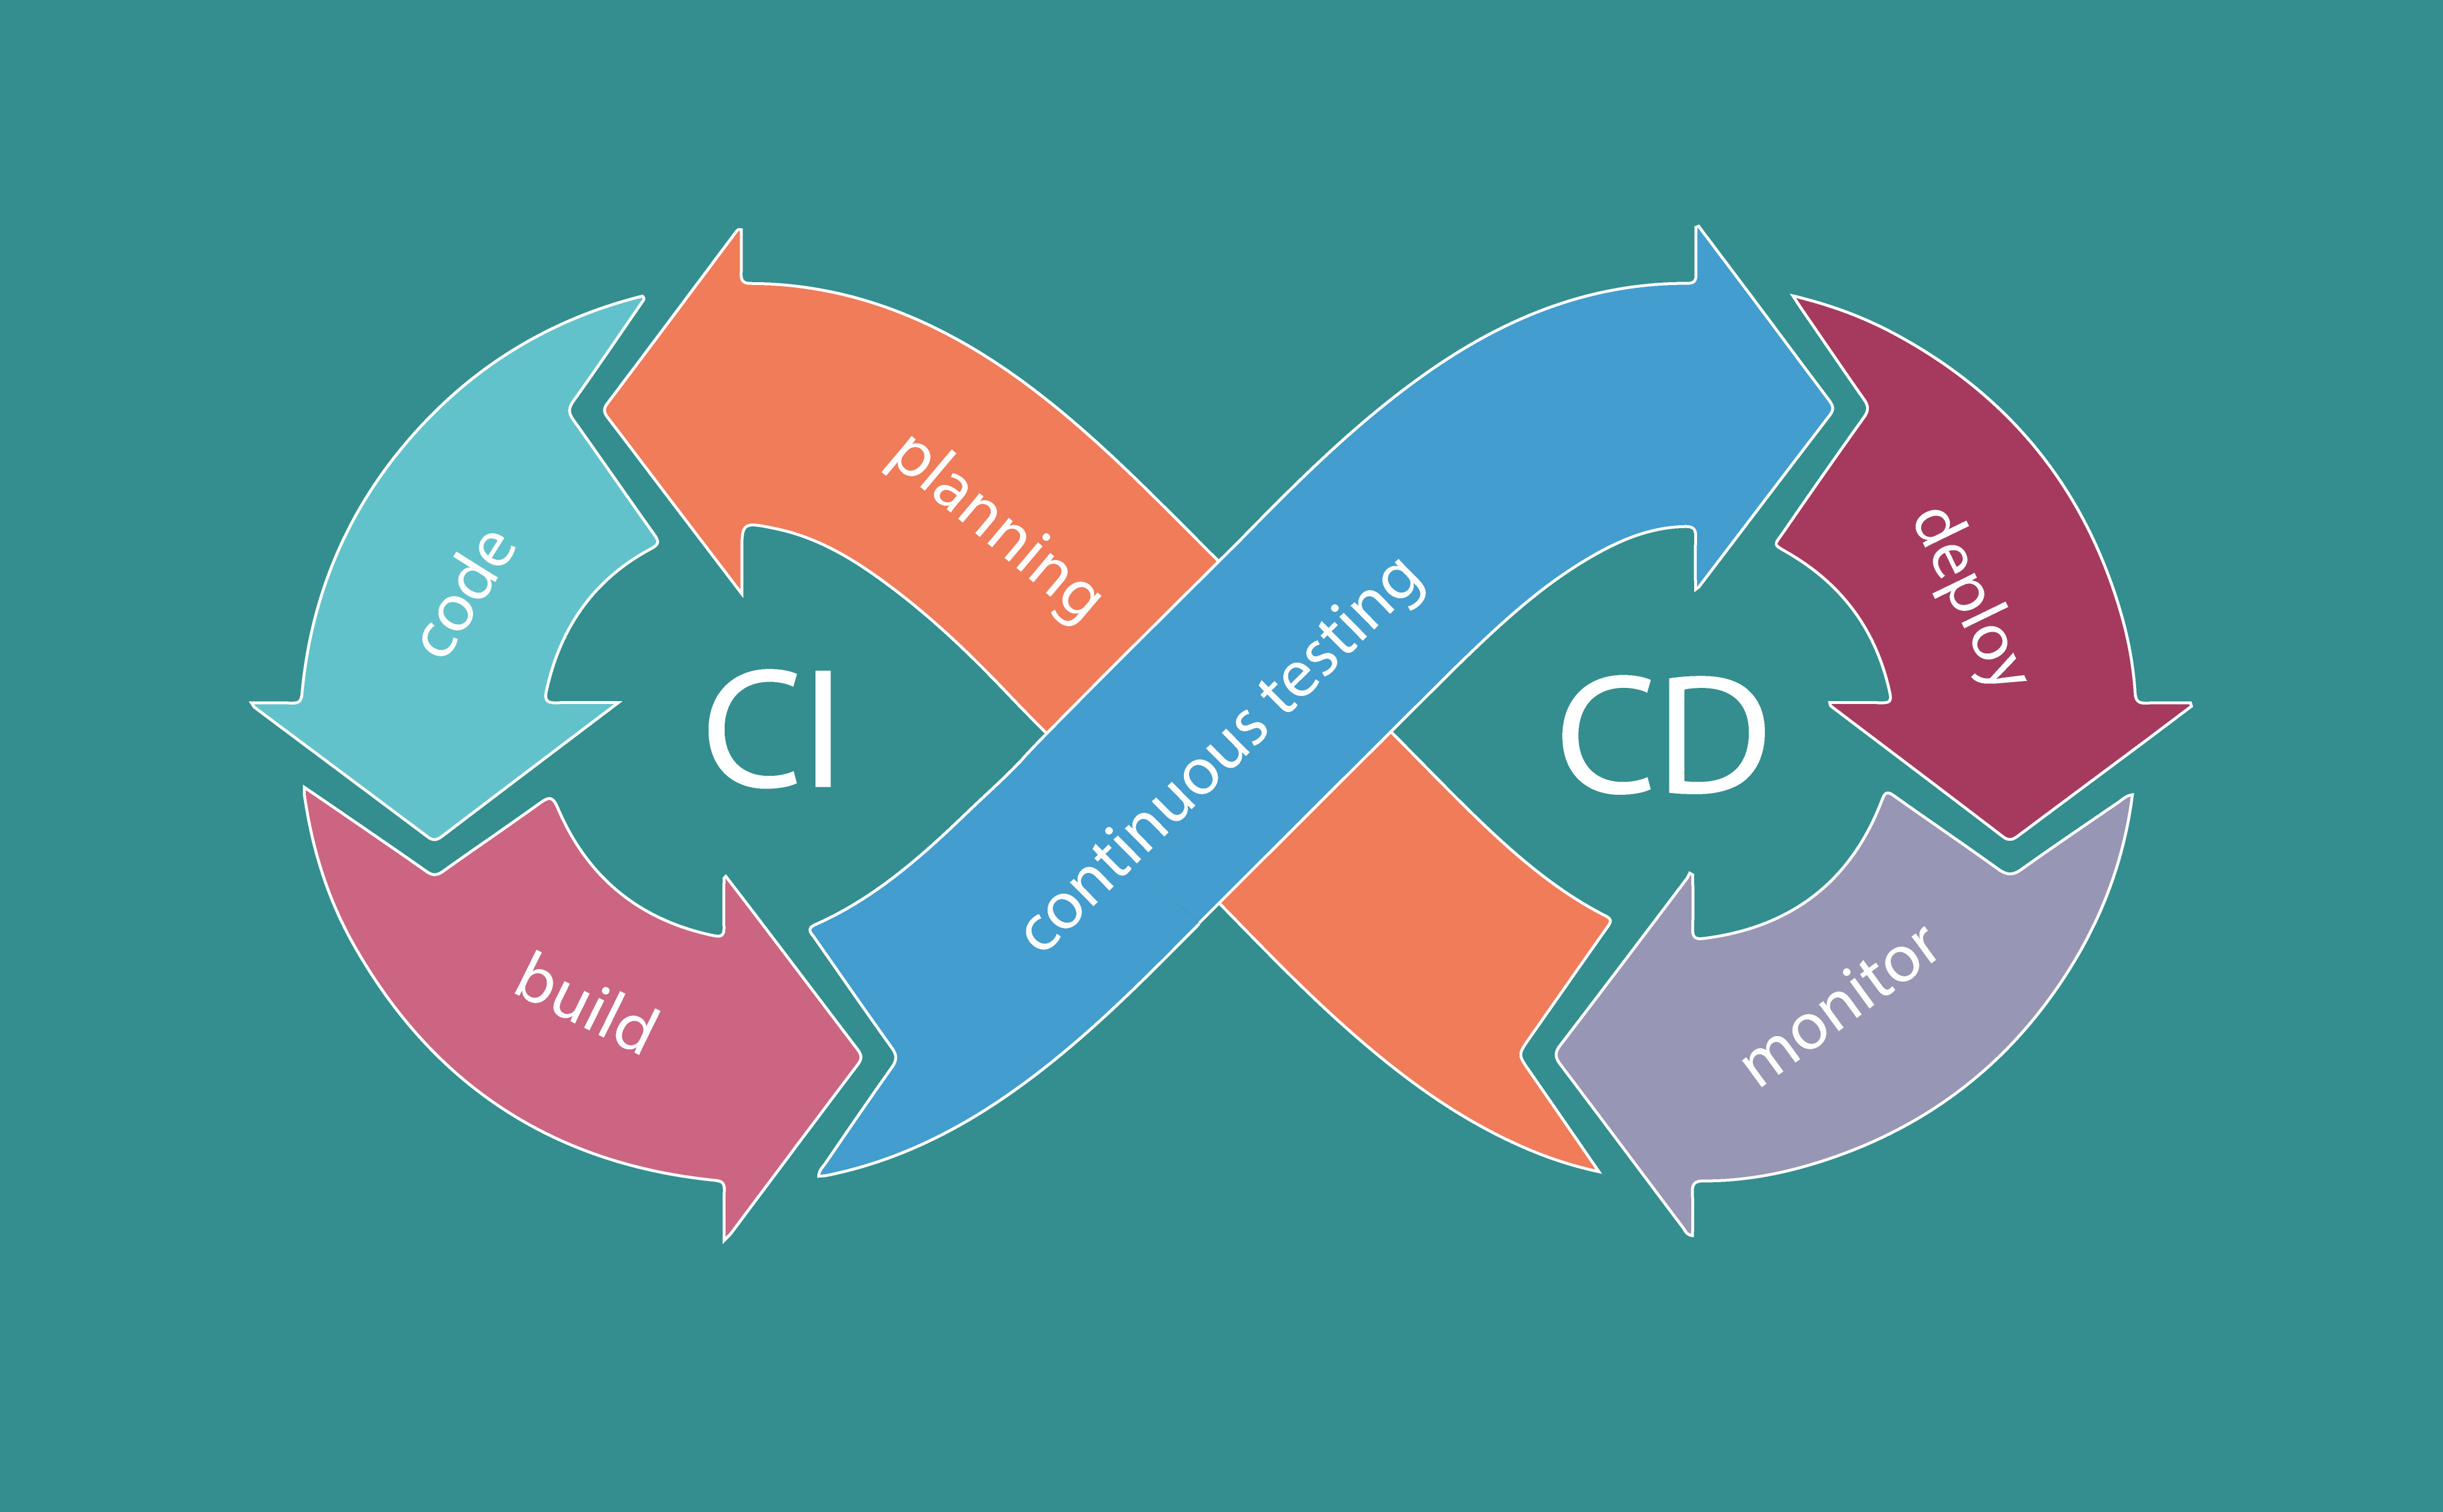
CONTINUOUS INTEGRATION PIPELINE INTEGRATION
TestCafe integrates easily with CI providers. Since it doesn’t need you to configure any external web drivers or libraries like Selenium does, the only prerequisite is to have the required browsers installed in the CI server.
There are other tools out there with these features e.g, the Cypress framework and Nightwatch. It all depends on what you need for your company or project so take the time to explore alternatives.
GETTING STARTED
TestCafe is using javascript for its primary language. I would recommend taking a basic javascript course before starting.
Before we start, you do need to have a few prerequisites. Your dev environment must have node.js and npm.
Before beginning your end-to-end testing journey, you need to decide where you want your source code to be, you can either choose to have it in the same repo as your project or inside a separate repo. There is no right or wrong answer here, it all depends on how your team works.
So, to get started you run, npm install testcafe (please note, node.js and npm must be installed). This command will install testcafe inside the directory of your choice.
You can install testcafe globally by running npm install -g testcafe
And there you go testCafe is installed, now we can start writing tests
To start, let's do a basic test, we will load www.oswinlosper.co.za and see if an element exists on the website.
Open the file, and inside we'll write our first test:
LET'S BREAK THE TEST DOWN:
import { Selector } from "testcafe": In the first line of our test, we're importing the Selector function provided by TestCafe. This function is one of the main functions you'll use for identifying elements on the current page. You can use the Selector function to get the value of an element, check its current state, and more.
fixture("Oswin Home Page")
: TestCafe organizes its tests with fixtures. This function, automatically imported when running the test, returns an object used to configure the tests in the file. The object is used to set the URL where the tests begin, run hooks for test initialization and teardown, and set optional metadata. Here, we're setting a descriptive name for the tests to help identify the group during test execution.
page("
https://www.oswinlosper.co.za/"
)
: The page function allows you to specify the URL that loads when each test run starts.
test("Check if main page loads", async t => { ... })
: The test function provided by TestCafe is a function that has two main parameters - the name of the test, and an async function where we'll write our test code. The async function from the parameters includes a test controller object, which exposes the TestCafe Test API.
const subtitle = Selector("header").withText(...)
: Here we're using the Selector function previously mentioned. We're using the function to tell TestCafe to look for an 'header' element on the page that contains specific text. In this example, this is the heading of this article. We'll store this select in a variable to use it later in our assertion.
await t.expect(header.exists).ok()
: Finally, we have our assertion for the test. This assertion checks that the selector we specified previously exists on the page using the exists function on the selector. We verify that the test passes with the ok() function, which is part of TestCafe's Assertion API.
It's important to have an async function for the test. This allows TestCafe to execute its test functions without having to wait for a page to load or an element to appear.
RUN THE TEST
You can run the test from a terminal by calling a single command where you specify the target browser and file path.
TestCafe allows you to run the tests on more than one browser, we'll just run it on Chrome. All you need to do to run the test is use the following command:
testcafe chrome test.js
When you run the command, TestCafe will open up your browser and set up the web proxy for the test to run. It will open up the website and execute the steps inside the test. The results will then be displayed in the terminal.

CLEANING UP TEST BY RE-USING CODE
With time, as your test suite grows bigger and bigger, selectors will take up a large amount of space in your tests.
The example above is fairly simple, so keeping selectors inside the test won't be a problem, but as the tests get bigger with more features this can become a hindrance.
Another issue with Selectors, you have to use them in multiple places. For example, if the front end devs make a change to an element, you will have to change selectors everywhere, even if the selectors are used in different files and that can be a very painful process.
To handle these issues, TestCafe recommends using the Page Model pattern.
The Page Model pattern allows you to abstract the selectors from the tests. Instead of writing the selector in the test, you define the selector separately and refer to it when needed. This way, you can keep all of your selectors in one place. If the element changes in the application, you only need to update it in a single place.
It also helps improve the readability of your tests. For example, instead of writing a selector for an input field like input[type='text'], you write a more descriptive name like loginPageModel.emailInput.
Anyone reading the test should have a clear idea about that element immediately without having to look it up.
import { Selector } from "testcafe";
class HomePageModel {
constructor() {
this.header = Selector("header").withText(
"Why I chose TestCafe"
);
}
}
export default new HomePageModel();
This code is a plain JavaScript class. Inside the class constructor, we'll create class properties for each element selector that we want to use. These properties are what we'll access inside our tests, as we'll see soon. Finally, after defining our class, we export a new instance of the class, so it's ready to use in our tests.
Once we create our page model class, let's put it to use in the home page test:
import homePageModel from "./pagemodels/homepage_model";
fixture("Oswin Losper Home Page")
.page(
"https://www.oswinlosper.co.za/"
);
test("Check if main page loads", async t => {
await t.expect(homePageModel.header.exists).ok();
});
There was a bit of cleanup that happened in this test. The main change was importing our newly created page model class, creating a new instance set as homePageModel. With this in place, we can access our selectors through the page model's properties.
The code where the selector was previously specified is gone, and replaced, we call the selector with homePageModel.header. Since we're no longer calling the Selector function, the import function that we had previously is gone.
SUMMARY
This article is a quick summary of how easy and useful it is to install TestCafe and to run end-to-end tests using TestCafe. No need to install multiple dependencies.
As for writing tests, it's straightforward. The example above barely scratches the surface of what TestCafe can do. It's a powerful tool that has a lot more functionality. Some of the more useful functions are below:
- Running your tests in headless mode (when running in a pipeline). Chrome and Firefox allow you to run TestCafe tests in headless mode, meaning that the browser runs without any UI. This functionality is crucial for running tests on a continuous integration service, where there's no graphical interface.
- Lots of different actions for interacting with your application
- TestCafe has many useful ways to debug tests, like taking screenshots and videos, client-side debugging using the browser's developer tools, and pausing tests when they fail so you can interact with the page for investigation.